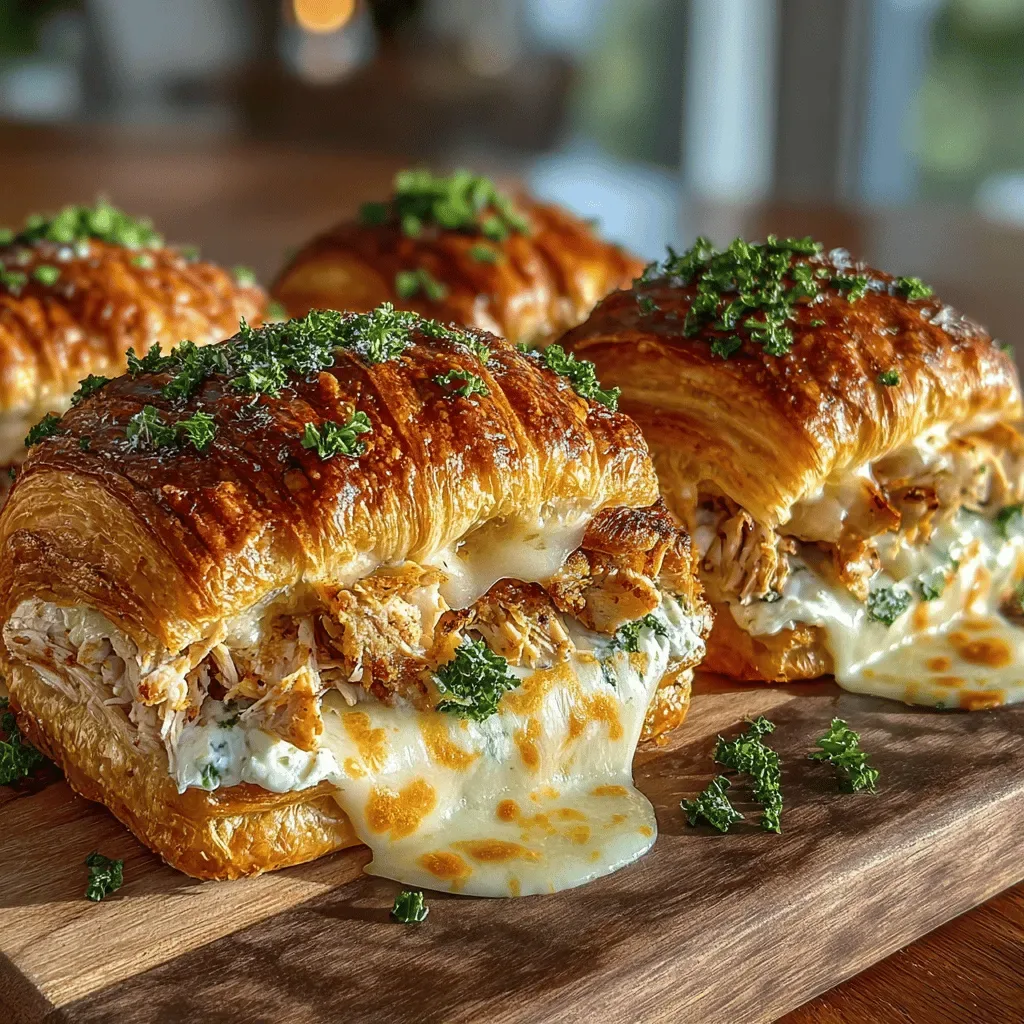
I still remember the first time I tasted a warm, gooey cinnamon roll that had a hint of dark chocolate and a whisper of espresso dancing on my tongue. It was a chilly Saturday morning, the kind where the frost still clings to the windows, and my kitchen was filled with the comforting hum of the oven and the soft crackle of butter melting in a saucepan. When I lifted the lid of the baking dish, a cloud of fragrant steam rose like a sweet‑scented fog, wrapping the whole house in an aroma that felt like a hug from an old friend. That moment sparked a lifelong obsession with layered pastries, and over the years I’ve tweaked, tested, and perfected a version that combines the classic cinnamon roll with the bold intensity of espresso and the decadence of cocoa.
Fast forward to today, and the recipe I’m about to share has become a staple at my family brunches, holiday gatherings, and even late‑night snack raids. Imagine biting into a soft, pillowy roll that’s speckled with melty chocolate chips, swirled with a cinnamon‑espresso filling, and finished with a glossy, buttery glaze that glistens like morning dew. The contrast between the sweet, buttery dough and the slightly bitter coffee notes creates a symphony of flavors that keeps everyone reaching for another piece, and then another. The best part? It’s surprisingly easy to pull off, even if you’re not a seasoned baker—just follow the steps, and you’ll have a bakery‑quality treat without ever leaving your home.
But wait—there’s a secret trick hidden in step four that will make your rolls rise higher and stay softer for days. Have you ever wondered why some homemade rolls turn out dense and flat while the ones from your favorite café are airy and light? The answer lies in a tiny adjustment that most home cooks overlook, and I’ll reveal it a little later in the process. Trust me, once you master that little nuance, you’ll never look back. And if you’re curious about the science behind the perfect crumb, stick around; I’ll break it down in a way that’s both fun and practical.
Ready to dive in? Here’s exactly how to make these Decadent Chocolate Espresso Cinnamon Rolls—you’ll crave them from the first bite to the very last crumb, and your family will be begging for seconds (and thirds). Grab your mixing bowls, preheat that oven, and let’s get started on a culinary adventure that’s as rewarding as it is delicious.
🌟 Why This Recipe Works
- Flavor Depth: The combination of espresso powder and cocoa creates a rich, layered taste that goes beyond ordinary sweet pastries, offering a sophisticated balance of bitter and sweet that keeps the palate intrigued.
- Moisture Retention: Incorporating butter and milk into the dough ensures a tender crumb that stays soft even after cooling, preventing the dreaded dry roll syndrome.
- Texture Contrast: The flaky, caramelized exterior formed during baking contrasts beautifully with the gooey chocolate‑chip‑strewn interior, delivering a satisfying bite every time.
- Ease of Execution: Though it sounds fancy, the recipe uses straightforward techniques like a single rise and a straightforward glaze, making it approachable for bakers of any skill level.
- Time Efficiency: With a total prep and cook time of just 45 minutes, you can whip up a batch of these indulgent rolls even on a busy weekend morning.
- Versatility: The base dough can be adapted for savory twists or holiday variations, so you’re not locked into a single flavor profile.
- Ingredient Quality: By using high‑quality espresso and cocoa powders, you elevate the overall flavor without needing exotic or hard‑to‑find components.
- Crowd‑Pleasing Factor: The visual appeal of a glossy, chocolate‑studded swirl draws eyes and appetites alike, making it a show‑stopper at any gathering.
🥗 Ingredients Breakdown
The Foundation
The backbone of any great roll is the dough, and here we rely on 4 cups of all‑purpose flour for structure. This flour provides just the right amount of gluten to give the rolls a chewy yet tender crumb. If you have access to unbleached flour, you’ll notice a slightly richer flavor and a softer texture. 0.5 cups of granulated sugar sweetens the dough without making it overly sugary, allowing the espresso and cocoa to shine through. The 2 teaspoons of yeast act as the leavening hero, creating those airy pockets that make the rolls light as a cloud.
Aromatics & Spices
1 cup of milk adds moisture and richness; whole milk is ideal for a buttery mouthfeel, but you can substitute with oat or almond milk for a dairy‑free version. 0.5 cups of butter, melted and cooled, coats the gluten strands, resulting in a softer crumb and a glossy finish. The large egg acts as a binder and contributes to the golden color of the crust. For that unmistakable coffee kick, we use 0.5 cups of espresso powder, which infuses the dough with a deep, roasted aroma. The 0.5 cups of cocoa powder not only adds chocolate flavor but also deepens the color, making each roll look like a piece of art.
The Secret Weapons
1 tablespoon of cinnamon is the classic spice that defines a cinnamon roll, offering warmth and a hint of sweetness. A pinch of 1 teaspoon of salt balances the flavors and enhances the overall taste profile. The 1 cup of chocolate chips melt into pockets of silky chocolate during baking, creating delightful surprise bursts in every bite. Finally, the glaze made from 1 cup of powdered sugar and 2‑3 tablespoons of milk adds a glossy, sweet finish that drips down the sides, sealing in moisture and flavor.
Finishing Touches
When selecting your chocolate chips, opt for high‑quality semi‑sweet or dark chips for a balanced bitterness that complements the espresso. If you’re feeling adventurous, sprinkle a pinch of sea salt on top of the glaze for a sophisticated sweet‑salty contrast. For the espresso powder, choose a brand that lists 100% Arabica beans for a smoother, less acidic flavor. And don’t forget to sift the cocoa powder and flour together; this eliminates lumps and ensures an even distribution of chocolate flavor throughout the dough.
With your ingredients prepped and ready, let's get cooking. Here’s where the fun really begins...

🍳 Step-by-Step Instructions
In a small saucepan, combine the milk and butter. Warm over low heat, stirring until the butter is fully melted and the mixture is just warm to the touch (about 110°F/43°C). This gentle heat will activate the yeast without killing it. Once melted, remove from heat and let it cool slightly—this is the perfect moment to add the egg, whisking it in to create a smooth, glossy base for the dough.
In a large mixing bowl, whisk together the flour, granulated sugar, yeast, cocoa powder, espresso powder, cinnamon, and salt. Make sure everything is evenly distributed; this prevents pockets of raw flour and ensures consistent flavor. Here’s the thing: the cocoa and espresso powders can clump, so a quick sift does wonders.
Create a well in the center of the dry ingredients and pour in the warm milk‑butter‑egg mixture. Using a wooden spoon or a stand‑mixer's dough hook, stir until the dough comes together into a shaggy mass. At this point, the dough should feel slightly sticky but manageable. If it’s too sticky, sprinkle in a tablespoon of flour; if it’s too dry, add a splash of milk.
Transfer the dough to a lightly floured surface and knead gently for another 5 minutes, folding it over itself and pressing with the heel of your hand. You’ll notice the dough becoming smoother and more elastic—a sign that the gluten network is forming correctly. Cover the dough with a clean kitchen towel and let it rise in a warm spot for 45 minutes, or until it has doubled in size. Here’s where the magic happens: the yeast feeds on the sugars, creating tiny air bubbles that give the rolls their signature lift.
While the dough is rising, prepare the filling. In a small bowl, combine the remaining cinnamon with a tablespoon of granulated sugar, the espresso powder, and a pinch of salt. Mix in the softened butter until you have a smooth, paste‑like spread. Stir in the chocolate chips so they’re evenly coated; this ensures they melt into pockets of chocolate throughout the roll.
Once the dough has doubled, punch it down gently to release excess air. Roll it out on a floured surface into a rectangle roughly 12×18 inches. Spread the filling evenly over the surface, leaving a small border around the edges. Then, starting from the long side, roll the dough tightly into a log, pinching the seam to seal. This tight roll ensures each slice has a beautiful spiral of chocolate and coffee.
Cut the log into 12 equal pieces using a sharp serrated knife—clean cuts give you uniform rolls that bake evenly. Place the rolls in a greased 9×13‑inch baking dish, leaving a little space between each so they can expand without sticking together. Cover the dish with a damp towel and let the rolls rise again for 20–25 minutes; they’ll puff up like clouds, ready for that golden transformation.
Preheat your oven to 375°F (190°C). Bake the rolls for 20–25 minutes, or until they’re a deep, caramel‑gold color and the edges are fragrant with toasted cocoa. When you tap the tops, they should sound hollow, a sure sign they’re cooked through. While the rolls are baking, whisk together the powdered sugar and milk to create a smooth glaze; adjust the milk amount for your desired consistency.
As soon as the rolls emerge from the oven, drizzle the glaze over them while they’re still warm. The glaze will seep into the crevices, creating a glossy, sweet finish that locks in moisture. Let the rolls cool for 10 minutes before serving—this short rest lets the flavors meld and the glaze set just enough to be glossy but still drippable. And the result? A tray of melt‑in‑your‑mouth rolls that smell like a coffee shop and taste like a bakery, all made in your own kitchen.
And there you have it! But before you dig in, let me share some tips that will take this from great to absolutely unforgettable...
🔐 Expert Tips for Perfect Results
The Taste Test Trick
Before you bake the entire batch, pop a tiny piece of the dough into the microwave for 10 seconds and taste it. This quick test reveals whether the sugar balance is right or if you need a pinch more salt. I once served a batch that was a tad too sweet, and a single pinch of sea salt saved the day—your taste buds will thank you.
Why Resting Time Matters More Than You Think
Allowing the dough to rest after the first rise relaxes the gluten, making the rolls easier to roll out and giving them a softer crumb. Skipping this step can lead to a tough, dense texture that feels more like a bread than a roll. Trust me on this one: the extra 15 minutes of patience pays off in every bite.
The Seasoning Secret Pros Won’t Tell You
A dash of orange zest added to the filling elevates the espresso notes with a bright, citrusy pop. This subtle twist is a favorite among pastry chefs who love to layer flavors. I discovered it on a trip to a Parisian patisserie, and it’s become my go‑to secret for making ordinary rolls feel luxurious.
Glaze Timing is Everything
Drizzle the glaze while the rolls are still hot, but not scorching. If the glaze is applied to a too‑hot roll, it can melt away, leaving a soggy top. Conversely, a cold roll won’t absorb the glaze, resulting in a dry finish. Aim for a sweet spot—just a few minutes after removing from the oven.
Storing for Maximum Freshness
If you’re not serving the rolls immediately, wrap them loosely in parchment paper and store them in an airtight container at room temperature. This method preserves the soft interior while keeping the glaze from getting sticky. I’ve found that a slice reheated with a splash of milk in the microwave brings back that fresh‑out‑of‑the‑oven feel.
Freezing for Future Cravings
These rolls freeze beautifully. After the glaze has set, wrap each roll individually in plastic wrap, then place them in a freezer‑safe bag. When you’re ready to enjoy them, let them thaw at room temperature for 30 minutes, then warm in a 350°F oven for 8‑10 minutes. The result? Fresh‑baked flavor with zero compromise.
🌈 Delicious Variations to Try
One of my favorite things about this recipe is how versatile it is. Here are some twists I’ve tried and loved:
Nutty Mocha Delight
Swap half of the chocolate chips for chopped toasted hazelnuts. The nutty crunch pairs beautifully with the espresso, creating a texture reminiscent of a classic mocha latte. This variation adds a wholesome depth that’s perfect for a brunch spread.
White Chocolate & Raspberry Swirl
Replace the dark chocolate chips with white chocolate chips and fold in a spoonful of raspberry jam into the filling. The tartness of the raspberry balances the sweetness of the white chocolate, delivering a bright, summery flavor profile that’s perfect for spring gatherings.
Spiced Chai Cinnamon Rolls
Add a teaspoon of ground ginger, a pinch of cardamom, and a dash of black pepper to the filling mixture. This chai-inspired spice blend brings warmth and complexity, making the rolls feel like a cozy hug on a chilly evening.
Vegan Coconut Espresso Rolls
Replace the butter with coconut oil, use a flax‑egg (1 tbsp ground flaxseed + 3 tbsp water) instead of the egg, and swap milk for oat milk. The coconut oil adds a subtle tropical note that complements the coffee, while keeping the rolls entirely plant‑based.
Caramel‑Pecan Crunch
Stir in a handful of caramel bits and toasted pecan pieces into the filling. The caramel melts into sticky pockets, and the pecans add a buttery crunch, turning the rolls into a decadent dessert worthy of holiday tables.
📦 Storage & Reheating Tips
Refrigerator Storage
Place the cooled rolls in an airtight container or a zip‑top bag and store them in the fridge for up to 4 days. To keep them from drying out, place a slice of fresh bread on top of the rolls before sealing—the bread releases moisture that the rolls happily absorb.
Freezing Instructions
Wrap each roll tightly in plastic wrap, then place them in a freezer‑safe bag. They’ll keep for up to 2 months. When you’re ready to enjoy them, let them thaw at room temperature for about 30 minutes, then give them a quick 5‑minute warm‑up in a 350°F oven to revive the glaze and softness.
Reheating Methods
The trick to reheating without drying out? A splash of milk or a drizzle of melted butter before microwaving for 20‑30 seconds. For a crispier exterior, reheat in a preheated oven at 325°F for 8‑10 minutes, covering the rolls loosely with foil to prevent over‑browning. This method restores the buttery crust while keeping the interior melt‑in‑your‑mouth.