Why You'll Love This Recipe
The first time I tasted a pumpkin‑infused cheesecake was at my grandmother’s kitchen during a crisp October afternoon. She had a tradition of turning the season’s bounty—freshly roasted pumpkin, aromatic spices, and a splash of cream cheese—into a dessert that felt both comforting and celebratory. I remember the faint scent of nutmeg and clove drifting through the house as the oven warmed the kitchen, and the way the golden crust crackled softly when we lifted the pan. That memory stayed with me, a reminder that food can be a bridge between generations.
Years later, after countless experiments with pumpkin desserts, I realized the perfect balance was still missing: a dessert that offered the rich, velvety tang of cheesecake without the heaviness of a full‑size cake, and a crust that could stand up to the creamy filling while staying light enough to eat after a big meal. That quest led me to create Pumpkin Cheesecake Crème Bars—a portable, bar‑style version that keeps the classic flavors but presents them in a sleek, modern format that looks as good as it tastes.
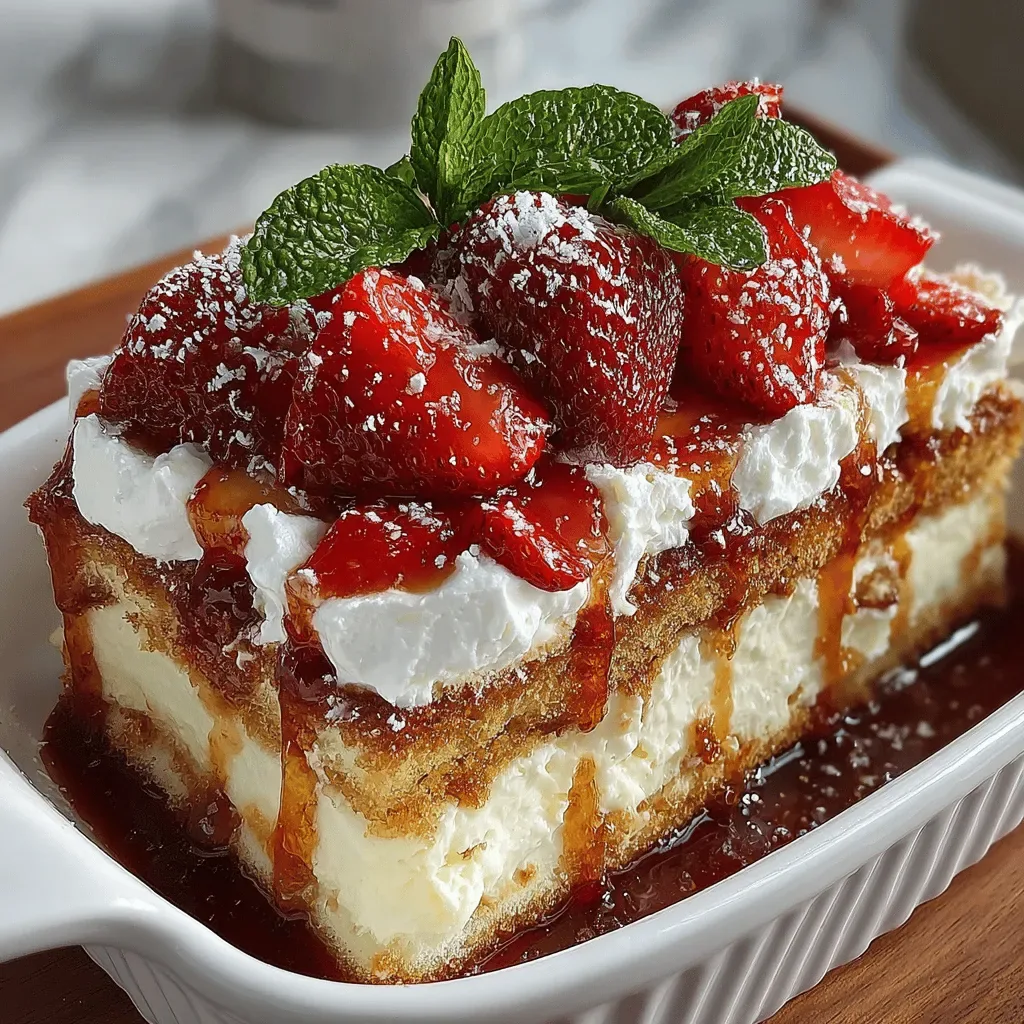
What makes these bars truly special is the harmony of texture and flavor. The crust, a blend of graham crackers, butter, and a hint of brown sugar, provides a buttery crunch that’s instantly recognizable yet refined. The cheesecake layer, infused with pumpkin purée, cream cheese, and a whisper of maple, delivers a silky mouthfeel while the spices—cinnamon, ginger, and a pinch of all‑spice—add depth without overwhelming the palate. Finally, a light drizzle of caramel‑spiced glaze and a dusting of toasted pumpkin seeds give each bite a finishing touch that feels both rustic and elegant. Whether you’re serving them at a Thanksgiving potluck or enjoying a quiet night with a cup of tea, these bars embody the spirit of autumn in a way that’s both accessible and unforgettable.
Instructions
Prepare the crust
Begin by preheating your oven to 350°F (175°C). While the oven warms, place the graham cracker crumbs in a large mixing bowl. Add the melted butter and brown sugar, then stir with a fork until the mixture resembles wet sand. This texture is crucial: it should hold together when pressed but not be overly wet. Once combined, transfer the crumb mixture to a 9×13‑inch baking pan lined with parchment paper. Using the back of a measuring cup or your hands, press the crumbs firmly into an even layer, making sure to reach the edges. A compact crust prevents the cheesecake from sliding and creates a satisfying crunch.
Blend the cheesecake base
In the bowl of a stand mixer fitted with the paddle attachment, combine the softened cream cheese and pumpkin purée. Beat on medium speed for about 2 minutes, scraping the sides occasionally, until the mixture is completely smooth and there are no lumps. The goal is a homogenous pink‑orange base that will later turn creamy once baked. Adding the pumpkin at this stage ensures its flavor is fully incorporated without creating streaks.
Incorporate sweeteners and spices
Add the maple syrup, vanilla extract, pumpkin pie spice, and sea salt to the cream cheese‑pumpkin mixture. Continue beating on low‑medium speed until everything is fully blended. The maple syrup not only sweetens but also contributes a subtle caramel depth that pairs beautifully with the brown‑sugar crust. The spices should be evenly distributed; you’ll notice the aroma intensify as the batter thickens, indicating the flavors are marrying properly.
Add the eggs one at a time
Crack the eggs into a small bowl, then add them to the batter one at a time, beating on low speed after each addition. This gradual incorporation prevents the mixture from curdling and ensures a silky texture. As each egg folds in, the batter will become slightly lighter and more aerated, which helps the final bars achieve a gentle rise without becoming overly fluffy.
Pour the filling over the crust
Carefully pour the cheesecake batter onto the chilled crust, using a spatula to spread it evenly. Aim for a smooth top; a gentle tap of the pan on the counter can release any air bubbles that may have formed during mixing. The batter should be about ¾‑inch thick, leaving a small border around the edges so the crust remains visible.
Bake the bars
Place the pan in the preheated oven and bake for 18‑20 minutes, or until the edges are set and the center still has a slight wobble—similar to a firm custard. The gentle wobble indicates the filling will finish setting as it cools, preventing a dry, over‑cooked texture. Avoid opening the oven door early, as temperature fluctuations can cause cracks.
Cool and chill
After removing the pan from the oven, set it on a wire rack and allow it to cool to room temperature for about 30 minutes. This gradual cooling helps prevent the surface from cracking. Once cooled, cover the pan tightly with plastic wrap and refrigerate for at least 4 hours, preferably overnight. Chilling solidifies the cheesecake layer, making the bars easier to cut and giving the flavors time to meld.
Slice and garnish
Remove the chilled pan from the refrigerator and lift the parchment paper to free the slab. Using a sharp, warm knife (dip in hot water and dry), cut the slab into 12 even bars. Warming the blade ensures clean cuts without dragging the creamy filling. Transfer each bar onto a serving plate, drizzle with a thin stream of caramel sauce, and sprinkle toasted pumpkin seeds over the top for a satisfying crunch and visual contrast.
Expert Tips
Tip #1: Use Fresh Pumpkin Purée
Freshly roasted pumpkin purée has a brighter flavor and less added sugar than canned pie filling. Roast a small sugar pumpkin, peel, and puree in a food processor until smooth. Strain through a fine mesh if you want an ultra‑silky texture. This step adds depth that store‑bought mixes simply can’t match.
Tip #2: Room‑Temperature Eggs
Cold eggs cause the batter to seize, leading to a grainy texture. Let the eggs sit out for 20‑30 minutes before adding them. This small step ensures they blend smoothly, giving the cheesecake its characteristic silkiness.
Tip #3: Prevent Cracks
To avoid surface cracks, place a shallow pan of hot water on the lower rack of the oven while baking (a makeshift water bath). The humid environment reduces rapid temperature changes, keeping the cheesecake surface smooth.
Tip #4: Chill Before Cutting
Even if you’re eager to serve, let the bars chill for at least 2 hours after baking. The cooler temperature firms the filling, allowing clean, crisp cuts without smearing the creamy layer.
Tip #5: Warm Your Knife
Dip the blade in hot water, wipe dry, and slice. A warm knife glides through the chilled cheesecake, producing neat squares without dragging the filling or crushing the crust.
Tip #6: Customize the Sweetener
If you prefer less sweetness, replace half the maple syrup with agave nectar or a sugar‑free maple‑flavored syrup. Adjust the brown sugar in the crust accordingly to maintain balance.
Tip #7: Add a Hint of Citrus
A teaspoon of orange zest brightens the pumpkin flavor and adds a subtle aromatic lift that pairs beautifully with the spices.
Tip #8: Finish with a Salted Caramel Drizzle
A light drizzle of salted caramel just before serving adds a sophisticated salty‑sweet contrast that elevates the dessert from comforting to restaurant‑quality.
Common Mistakes & How to Avoid Them
Leaving the bars in the oven too long causes the cheesecake to dry out and develop cracks. The center should still wobble slightly when you gently shake the pan. Use a timer and check at the 18‑minute mark; the bars will continue to set as they cool.
Cold butter, cream cheese, or eggs can create a lumpy batter and a grainy texture. Always bring dairy to room temperature before mixing. This ensures a smooth, homogenous filling.
Without humidity, the cheesecake surface can crack. Placing a pan of hot water on the lower rack creates a gentle steam environment that helps maintain a smooth top.
Attempting to slice the bars while the filling is still warm leads to smearing and uneven pieces. Refrigerate for at least 4 hours to allow the cheesecake to firm up fully.
Reduced‑fat versions lack the fat needed for a creamy mouthfeel and can become rubbery after baking. Stick with full‑fat cream cheese for the best texture.
Variations & Creative Twists
The base recipe is a versatile canvas. Below are several ways to tailor the bars to different tastes, dietary needs, or seasonal themes.
After pouring the cheesecake batter, drop spoonfuls of melted dark chocolate over the surface and use a skewer to create marble swirls. The bittersweet chocolate balances the pumpkin’s sweetness and adds visual drama.
Mix chopped toasted pecans and a drizzle of pure maple syrup into the crust before pressing. The nutty crunch complements the creamy filling and adds an extra layer of autumnal flavor.
Replace graham crackers with a blend of almond flour and coconut flour, use coconut oil instead of butter, and substitute the cream cheese with a vegan cream cheese alternative. The result is a plant‑based bar that still delivers the same silky texture.
Add a teaspoon of chai spice blend (cardamom, cinnamon, ginger, cloves) to the cheesecake batter and garnish with a dusting of ground cinnamon. This gives the bars an exotic, aromatic twist perfect for winter gatherings.
Press the crust into a mini muffin tin, fill each cavity with the cheesecake batter, and bake for 12‑15 minutes. These bite‑size treats are ideal for cocktail parties and can be served on a platter with a garnish of microgreens.
Storage & Reheating
Store the cooled bars in an airtight container in the refrigerator for up to 5 days. For longer storage, wrap the entire pan tightly with plastic wrap and freeze for up to 2 months. To serve from frozen, transfer the pan to the refrigerator and thaw overnight. If you need to warm the bars, place a single slice on a microwave‑safe plate and heat for 15‑20 seconds—just enough to soften the glaze without melting the cheesecake.
Serving Suggestions
Serve the bars alongside a dollop of lightly sweetened whipped cream and a sprinkle of cinnamon sugar for extra indulgence. Pair with a hot mug of spiced chai or a glass of crisp apple cider to accentuate the autumn flavors. For a brunch twist, add a side of fresh orange segments and a drizzle of honey.
Nutrition
Per serving (1 bar)